
Block Editor Tools
Short url: https://ewp.guide/go/be/block-editor-tools
The Block Editor provides a completely redesigned editing experience, and along with it, a new set of tools with which to edit your page. Although the editing interface is completely new, you will find many elements that you're already familiar with.
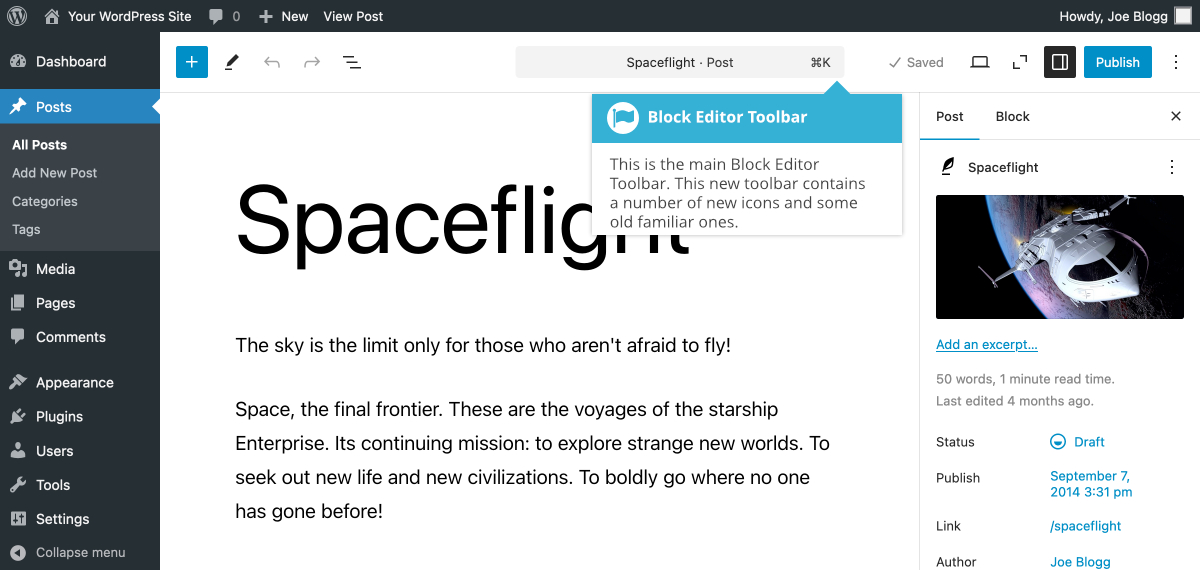
At the top of the page is the main Block Editor Toolbar. This new toolbar contains a number of new icons and some old familiar ones:
| The Add Block icon is used to insert new blocks into your content. Clicking this icon will pop open a small panel that gives you access to all the different types of blocks that you can insert. | |
| The Tools button offers different interactions for block selection & editing. Use the Select tool to help select Blocks. Once a Block is selected, press your Enter key to return to the Edit tool. | |
| The Undo icon allows you to Undo your most recent change(s). | |
| The Redo button allows you to Redo your most recent change(s). | |
| The Document Overview button allows you to view a list of all the blocks in your content, using the List View tab, as well as information about your page content, with the Outline tab. This latter option will show you how many Characters and Words your content contains, the type of blocks in your content along with an approximate time to read the content. | |
| The Document Bar shows the title of the content that you’re current editing and also the type of content (e.g. Post, Page etc…). Clicking on the Document Bar will display the Command Palette. The Command Palette helps you access tools more quickly within the Dashboard. You can also access the Command Palette using Ctrl+k on Windows or Cmd+k on Macs. | |
| The Save Draft button allows you to save your Page and will only appear if your Page/Post has not been published yet. | |
| The Preview button will allow you to preview your page. Clicking this button provides multiple options. You can Preview your page in Desktop view (default), Tablet, or Mobile view. You can also preview your page in a new browser tab/window by selecting the Preview in new tab option. | |
| The Zoom Out button will ‘Zoom Out’ your page, giving you a higher level look at your content. When selecting the Patterns tab or the Media tab within the Block Inserter, the Zoom Out button is automatically activated, making it easier for you to drag ’n drop your patterns and images into your content. Closing the Block Inserter, or switching back to the Blocks tab, will deactivate the ‘Zoom out’ button. | |
| The Publish button allows you to publish your Page/Post. Unlike previous versions a WordPress, publishing your page is now a two-step process. After clicking the Publish button the first time you're then shown a new panel with a confirmation message and another Publish button. This panel also allows you to change the visibility of your content and the publish date and time. Clicking this second Publish button will actually publish your content and make it live on your site. | |
| If your content is published, then the Publish button will be replaced with a Save button. Just like in previous versions of WordPress, clicking the Save button saves your changes. | |
| The Settings Sidebar shows all the settings for your Page/Post including elements like adding Featured Images, specifying your Categories and Tags on Posts, or selecting Page/Post templates. Clicking the Settings icon will show and hide the settings sidebar. | |
| The last icon in the Toolbar is the Show more tools & options icon. This button provides access to a number of adhoc settings. You can turn on/off the Top Toolbar and Spotlight Mode. You can also display your content using the Visual Editor (the default mode for adding blocks) or using the Code Editor, which allows you to edit the underlying html. You can also re-show the Block Editor tips, view a list of the editor keyboard shortcuts and also copy all the content in your page with a single click. |
| A word of caution, with the new Code Editor features. The Block Editor saves your content in a slightly different manner than the old (TinyMCE) Classic Editor. Previously, WordPress would save your content as a simple chunk of HTML. Whilst there is still HTML in your underlying content, the new Block editor also wraps each individual section of your content within HTML comment tags. It uses these comment tags to differentiate the various types of blocks your content is contained within. So, while you can still edit your HTML using the Code Editor view within the Block Editor, please take extra caution not to remove or change any of the HTML comments surrounding your content. Doing so, will cause one or more of your blocks to not display correctly once you switch back to the Visual Editor mode, and may possibly even cause you to lose content. If you feel you do need to edit the Block HTML, it's safer to use the ‘Edit as HTML' option under the ‘More Options' icon for each individual Block, than using the ‘Code Editor' option under the ‘Show more tools & options' icon at the top of the page. |
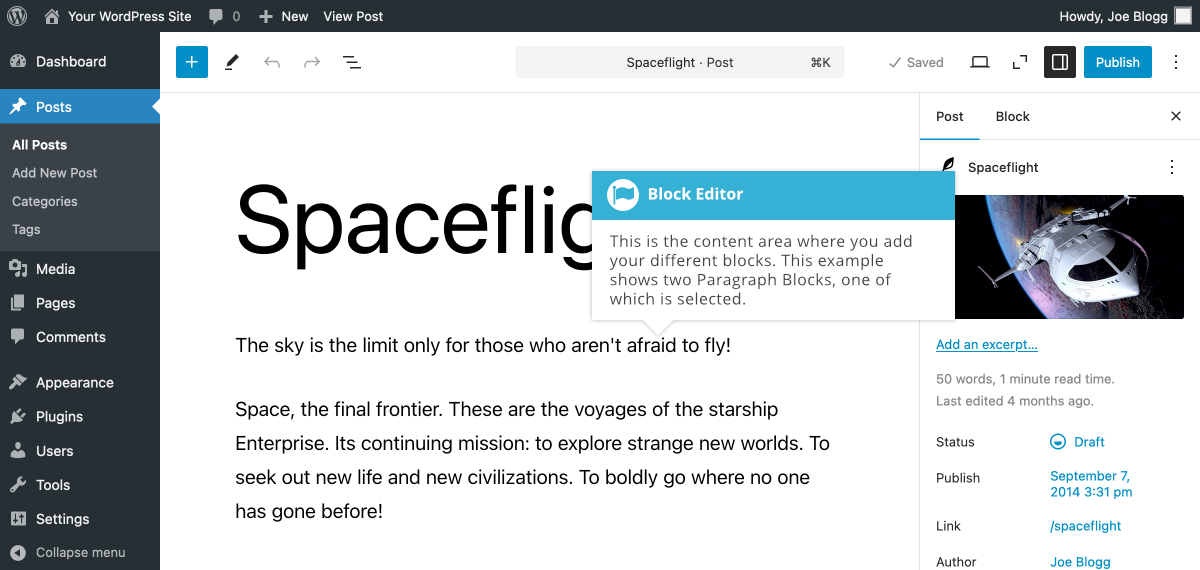
Underneath the Block Editor Toolbar you'll find your content area. This is where you'll add all your content, comprised of various types of blocks. Each block that you add into your content area, will have its own toolbar, and will either display just above the block (by default) or in the main Block Editor Toolbar at the top of the screen (if the Top toolbar option is turned on).
Each block will have a different toolbar, and the icons in that toolbar will be dependent on the type of content that the block contains. As an example, the toolbar on a Paragraph Block will be different to the toolbar on a Heading Block, because they contain different types of content. After clicking on, or selecting a block, you may even find there are extra options that you can set in the Settings Sidebar. Again this will depend on the individual block that you've selected.
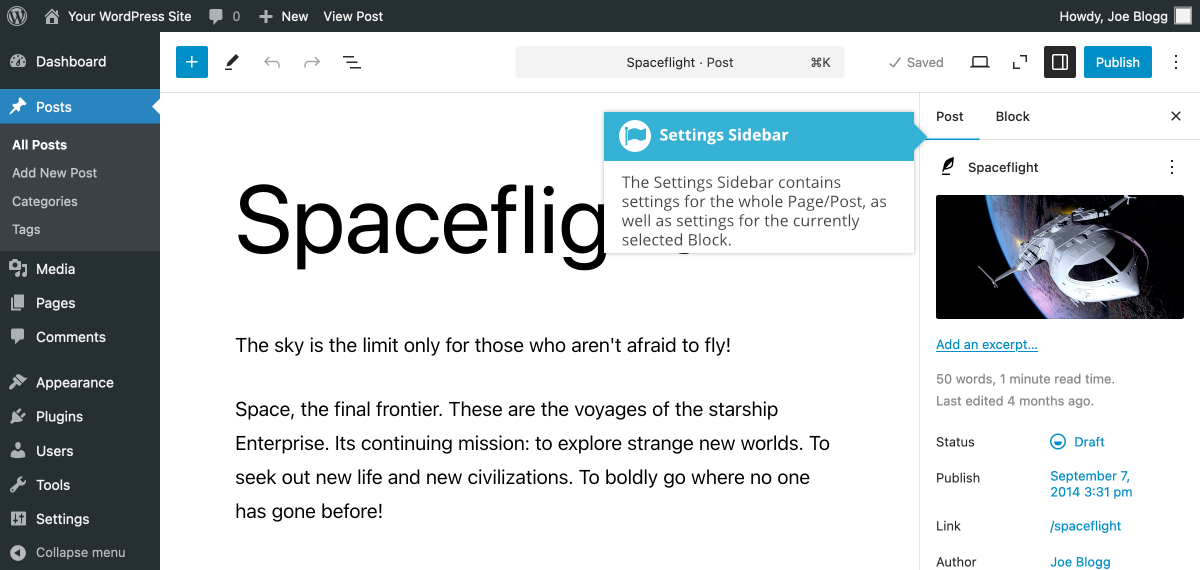
Next to your content area on the right hand side of the screen, is the Settings Sidebar. The Settings Sidebar contains settings for the whole Page/Post that you're currently editing, as well as settings for the currently selected block.
At the top of the Settings Sidebar there are two tabs that you can select. The first tab will either say Page or Post, depending on whether you're editing a Page or Post, and the second tab will say Block. The Page/Post tab shows the settings for the individual Page/Post that you're currently editing. This may include things like setting your featured image, selecting Categories and Tags (when editing a Post), or selecting a Page/Post template, among other things.
The Block tab shows the settings for the currently selected block. These settings will change depending on the type of block that is currently selected, and some blocks have more settings than than others. As an example, the Paragraph Block has settings for changing the size of the text, whether to display a Drop Cap, and in some themes, settings for the text colour and the background colour. The Heading Block on the other hand, only has settings to change the text size and color.